The YAG jewelry spot welding machine is easy to use and has low maintenance costs. It has become a powerful assistant for many jewelry craftsmen and craft enthusiasts. It can also be found in the workshops of eyeglass and watch repairmen. The lightweight desktop design achieves a combination of high performance and cost-effectiveness.
Generally speaking, the only consumables for laser spot welding machines are protective lenses and xenon lamps. During use, the xenon lamp will attenuate as the number of times the light is emitted increases.
The replacement cycle of xenon lamps used in laser welding machines usually depends on the frequency of use, maintenance and actual performance of the xenon lamp.
The service life of the xenon lamp: The service life of the xenon lamp equipped with the Wellbridge spot welder is usually more than 3 million times, or about 6-8 months of use. Under normal use conditions, the life of a general xenon lamp can reach more than 2,000 hours.
Replacement frequency: For high-frequency equipment, the replacement cycle should be more frequent, generally 6 months to 1 year; for low-frequency equipment, the replacement cycle can be appropriately extended, generally 2 years. Therefore, it is best to replace the xenon lamp soon after the light failure occurs, that is, it can be replaced in about 2 years.
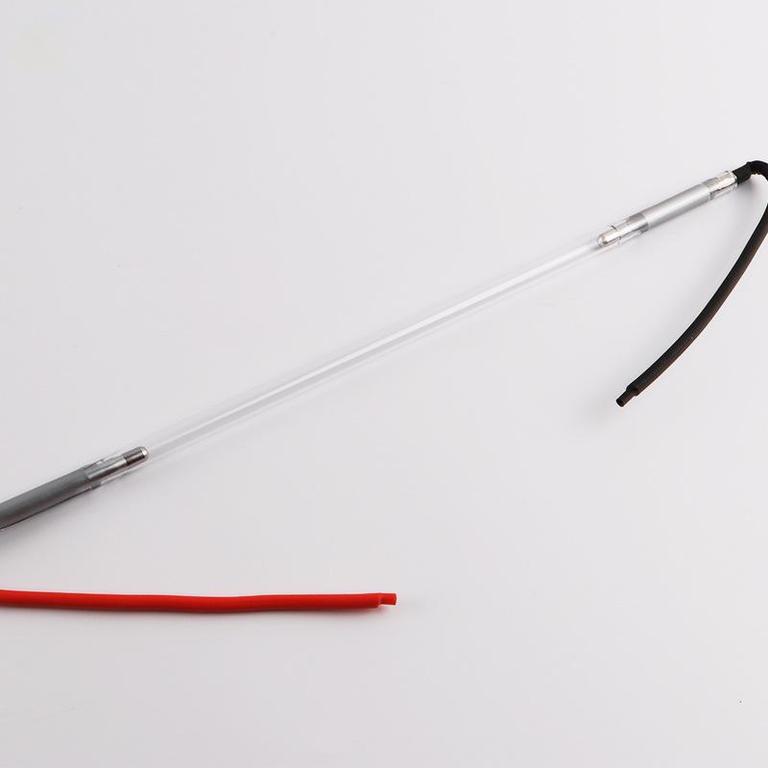
So how to replace the xenon lamp?
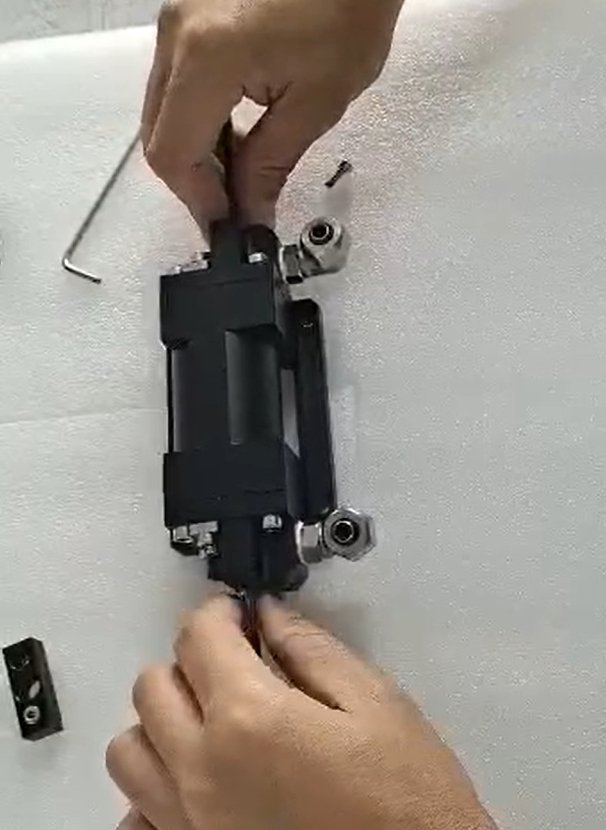
- First, you need to remove the laser cavity from the inside of the machine after the machine is powered off and drained. As picture shows below

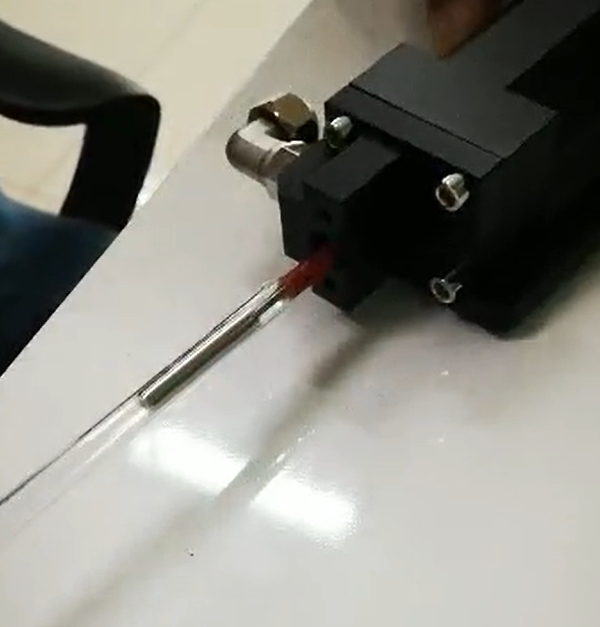
2. Then loosen the protective end caps at both ends of the cavity and gently take out the xenon lamp.
3. Arrange a new xenon lamp and pay attention to arrange the copper wire that needs to pass through the cavity to avoid rubbing against the inner wall of the ceramic.

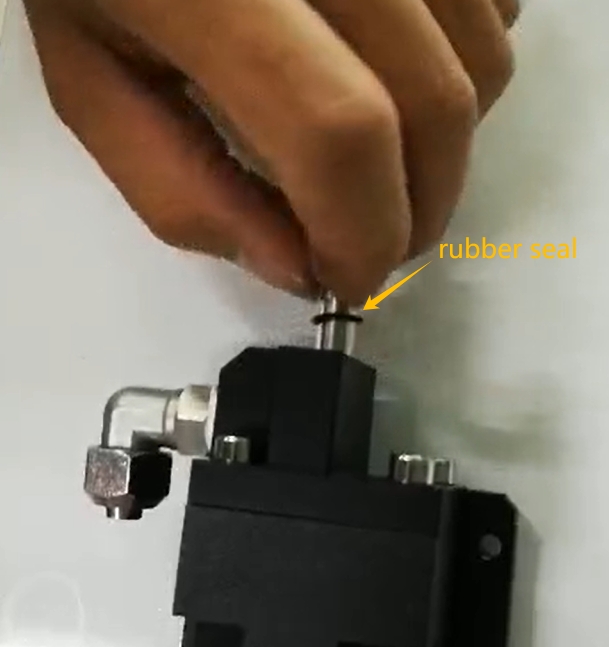
4. Reinstall the rubber seal and protective end caps at both ends and put the cavity back into the machine.

For more detailed guidance, please feel free to contact Wellbridge Technology anytime.


One Response
Thank you for your very informative blog.
R. Kavoussi